
 1171
1171
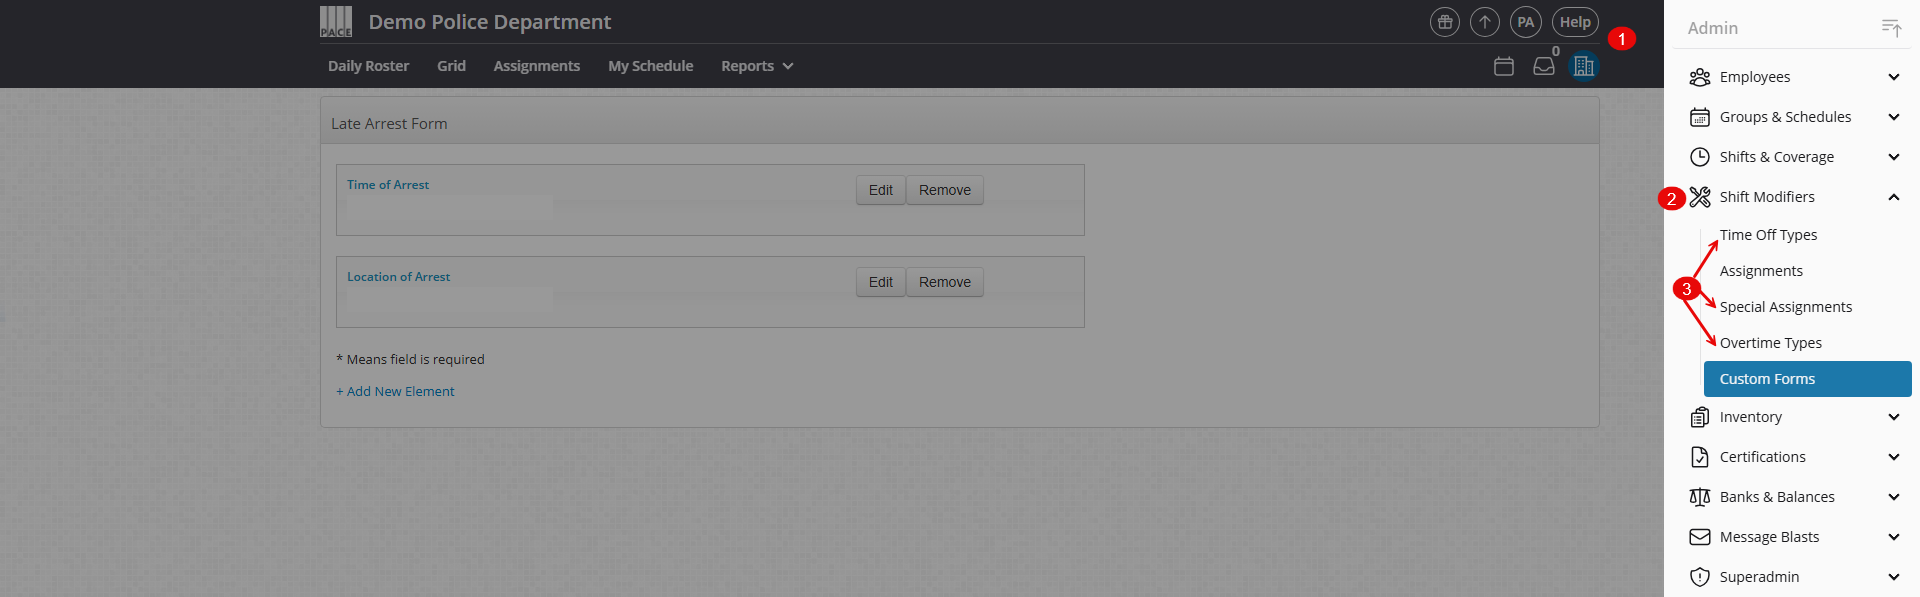
Custom Forms let you collect extra information whenever certain time types are requested or added (for example, a court case number on a Court OT request). Each form is tied to one or more time types, and appears only when those types are selected.
Steps
1. Create the Base Form
-
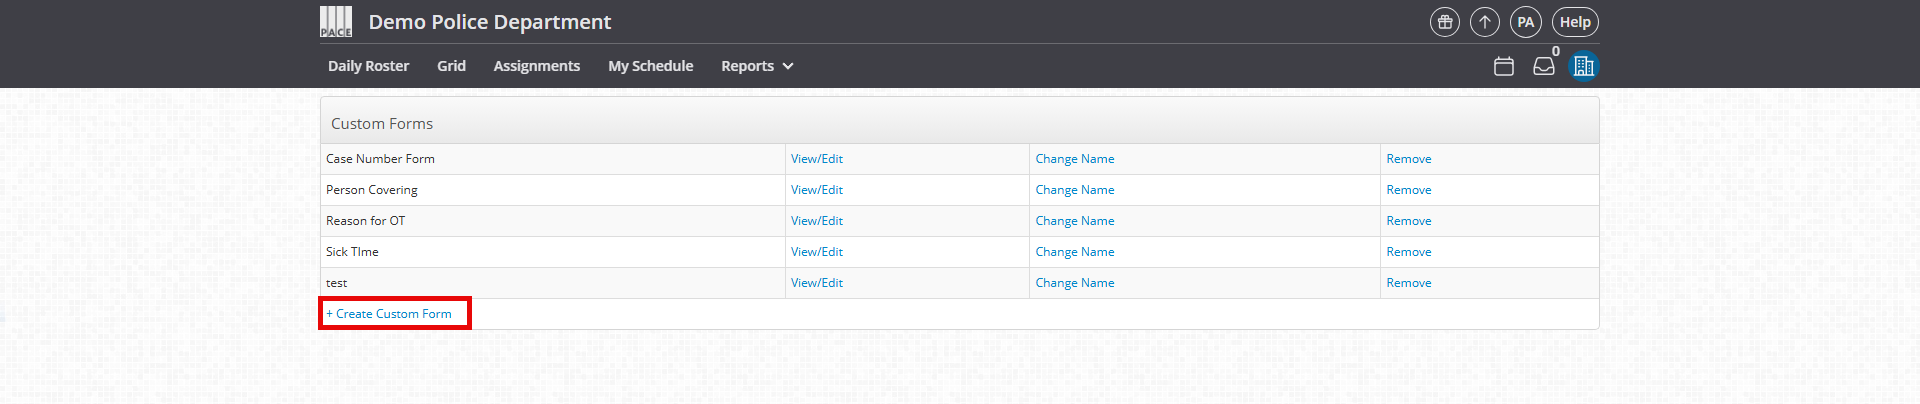
Go to Admin Panel > Shift Modifiers > Custom Forms.
-
Click + Create Custom Form (top-left).
-
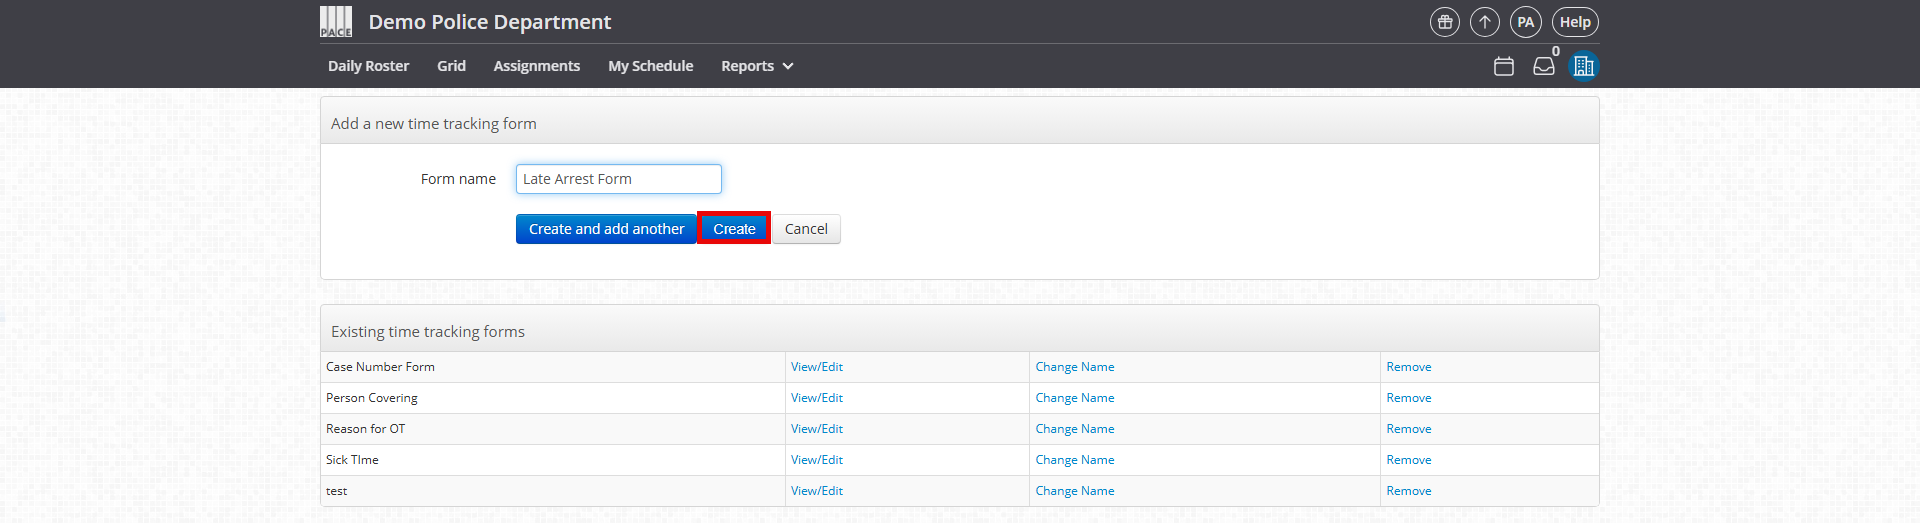
Enter a name for the form (e.g., Late Arrest Form).
-
Click Create. You’ll return to the Custom Forms index, where your new form will now appear.
2. Add Fields to the Form
-
Click View/Edit next to the form you just created.
-
Click + Add New Element to add fields.
-
Choose from the available field types:
-
Short Input – small text field for short answers.
-
Long Input – larger text box for longer answers.
-
Boolean (Yes/No) – checkbox that can be checked or unchecked.
-
Choices – list of selectable options you define.
-
-
Repeat until all desired fields are added.
3. Assign the Form to Time Types
-
Go to Admin Panel > Shift Modifiers > select the category (e.g., Overtime Types, Time Off Types, or Special Assignments).
-
Click Edit next to the time type you want (e.g., Standard).

-
In the Custom Form dropdown, select the form you created.
-
Click Save.

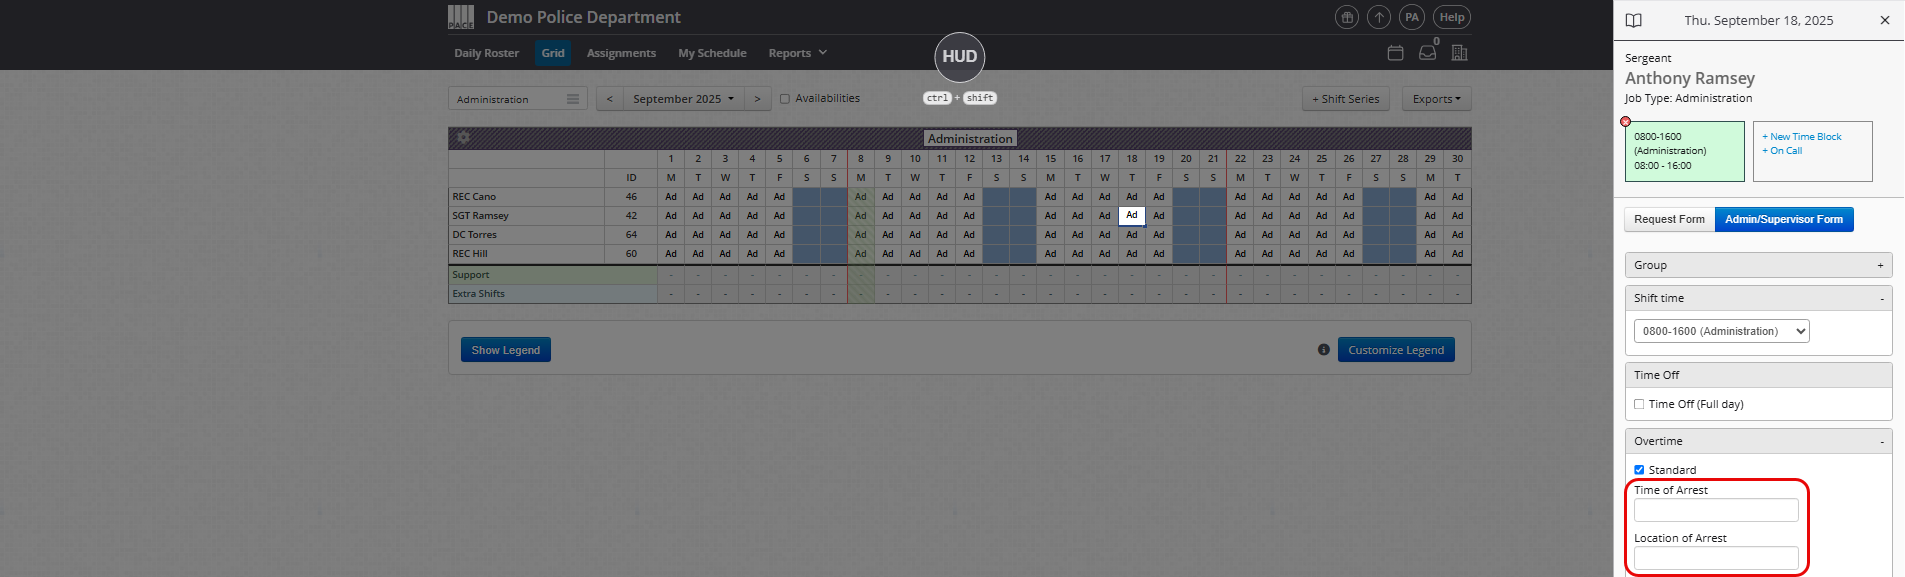
4. Test the Form
-
Create or request a shift using the linked time type.
-
The custom form fields should appear automatically for the user to fill out.
Helpful Tips
-
Responses can be viewed by opening the associated request or edit record.
-
Use the Shift Change Report (Reports > Shift Change Report) to review submitted form data.
-
Note: Custom Form responses are not searchable or filterable in Pace Scheduler. For advanced filtering or calculations, export the Shift Change Report to Excel.

