
 753
753
Pace Scheduler includes basic asset management and tracking features. Assets can be organized, assigned, and tracked either through the Admin Panel or directly from the Assignments tab (e.g., during roll call). This article explains how to set up and assign assets.
Before you begin
-
The Asset Management feature must be enabled.
-
Admin Panel > Site Settings
-
Search for "Allow Inventory"
-
Click Allow Inventory option
-
Toggle on "Allow Inventory"
-
-
-
Barcode scanning (if your department uses it) must be enabled by Pace Staff.
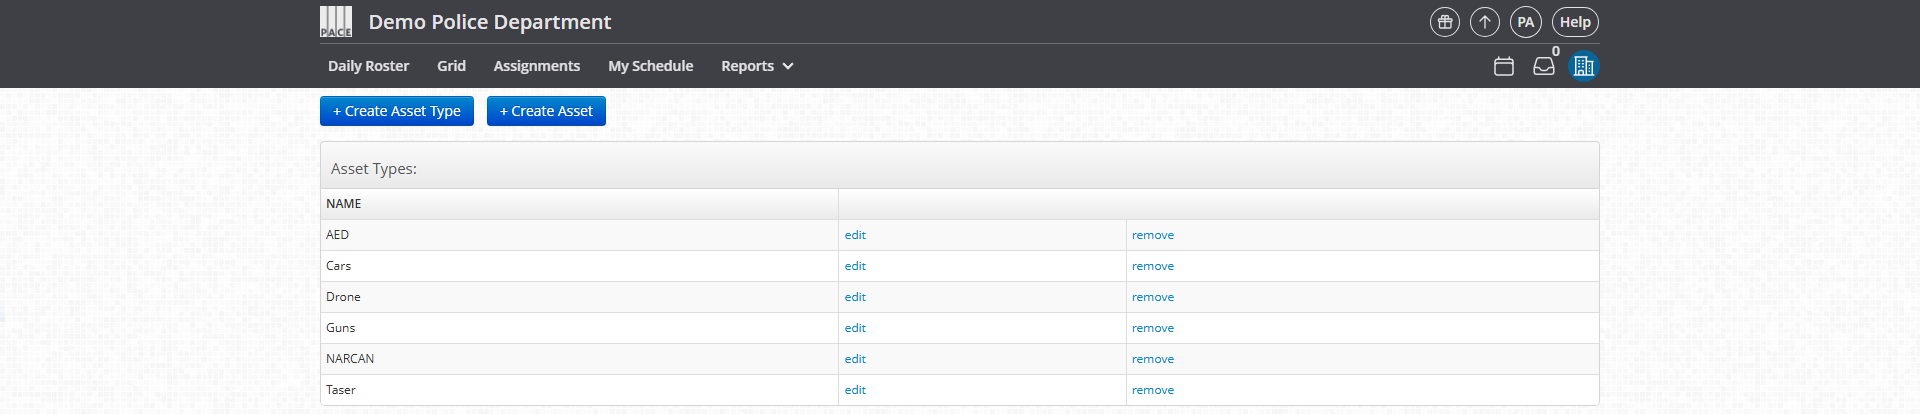
Asset Types and Assets
-
Asset Types → Categories of assets (e.g., Squad Car, Rifle, AED, Taser).
-
Assets → Individual items within each category (e.g., Car 1, Rifle #123, AED 2).
Assigning Assets
There are two ways to assign assets.
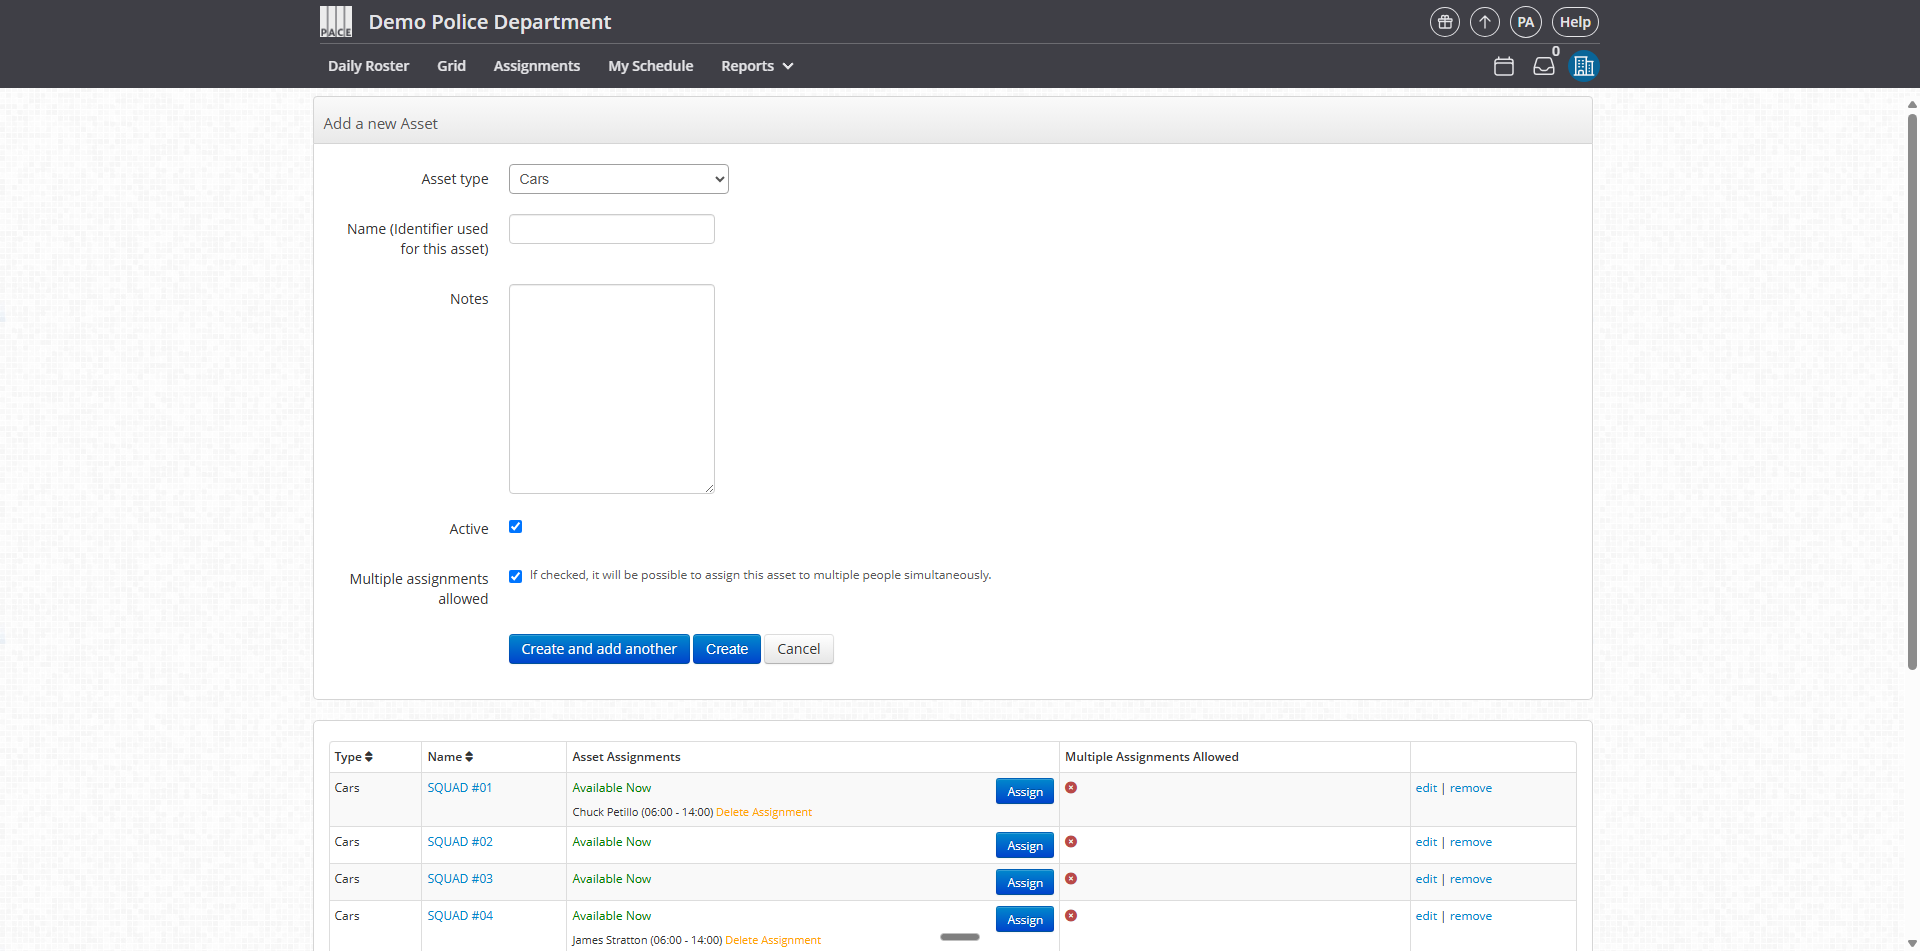
Option 1 – Assign via Admin Panel
-
Go to Admin Panel > Inventory > Assign Assets.
-
Select an asset to Assign to a user.
-
After use, select the asset to Return.
-
You can also:
-
Assign assets permanently to a user.
-
Assign assets in recurring patterns.

-
Note: If your department uses barcode scanning, this is where you will scan items.
Option 2 – Assign via Assignments Tab
-
Go to Assignments (your department may use a custom label such as Beats, Sectors, Areas, or Zones).
-
Click into the Assignment for that day.
-
Select a person from the roster to the right inside of Filters.
-
Click the individual within the assignment.
-
From the asset menu, assign the item(s) needed for that shift.
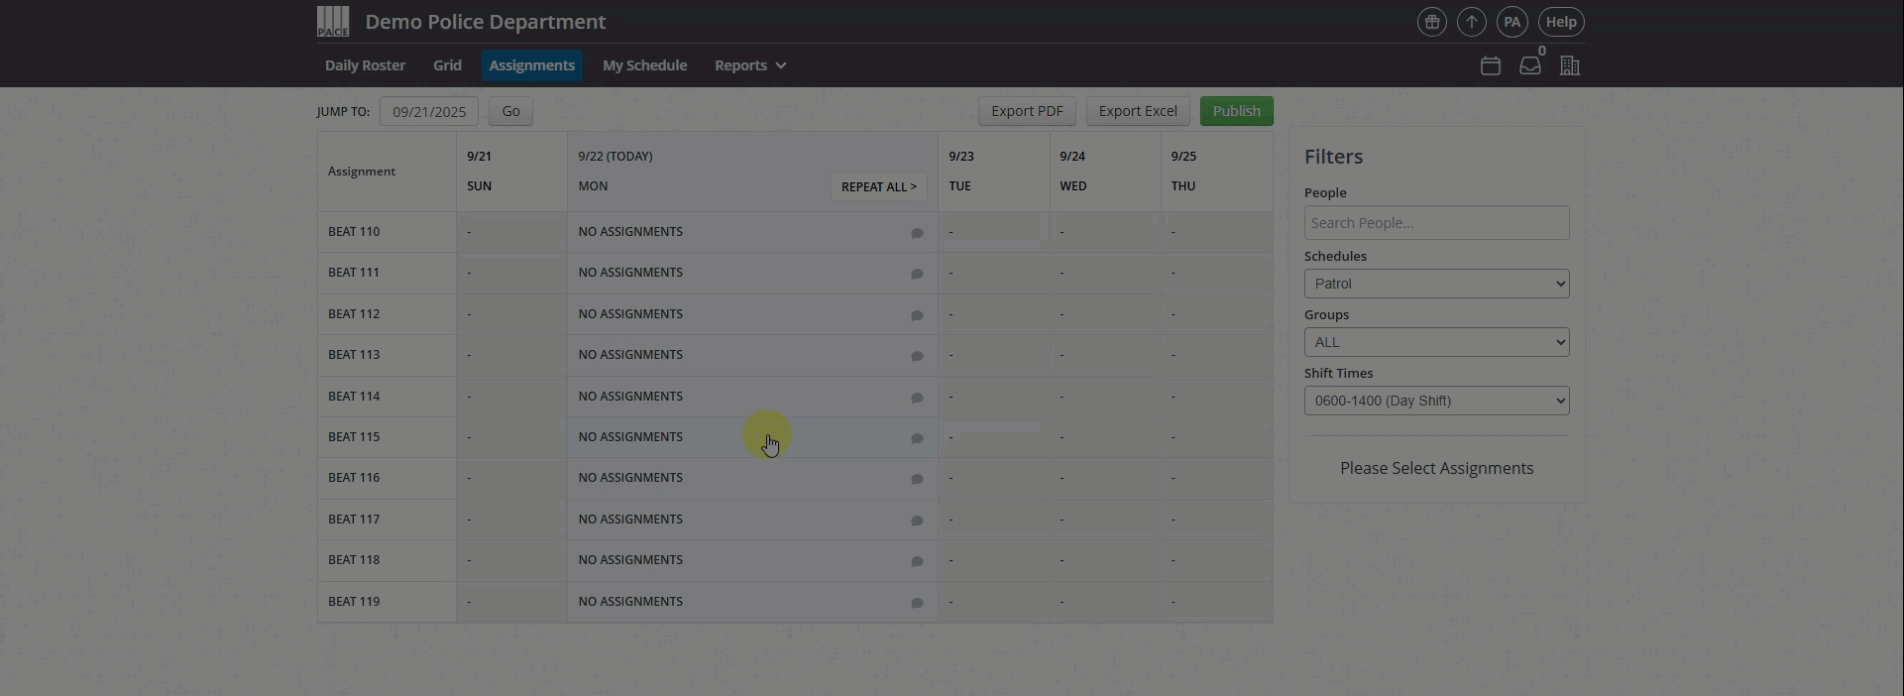
This method is designed for roll-call scenarios, allowing supervisors to assign beats and assets in one step.
Helpful Tips / Related Settings
-
Use Admin Panel for ongoing asset tracking and quartermaster functions.
-
Use Assignments for fast roll-call distribution at the start of a shift.
-
Asset management is free to enable — follow step above to enable it.

