
 1371
1371
The Custom Lists feature helps you evaluate pending requests by showing key employee history, such as overtime hours worked, the last time off taken, or how often someone has worked a special detail. Custom Lists provide on-demand context to support fair and informed scheduling decisions.
Steps
Create a New Custom List
-
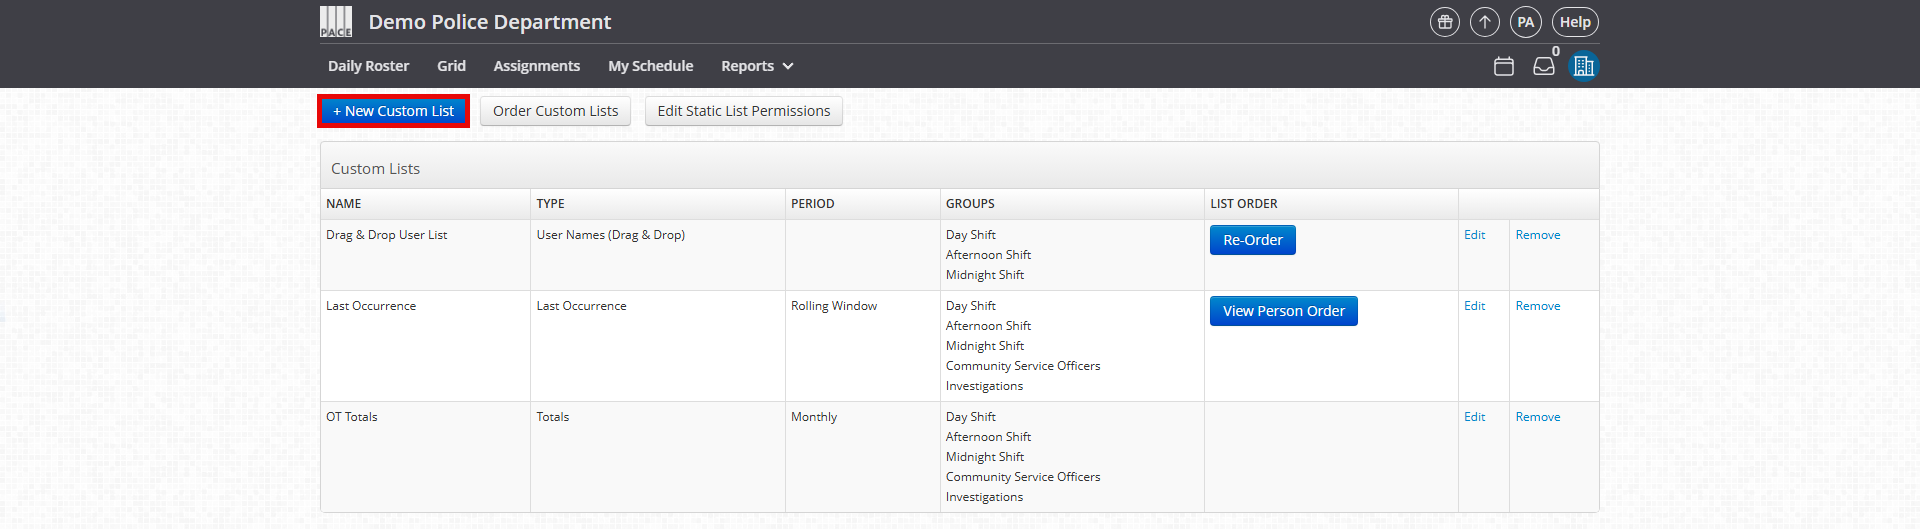
Go to Admin Panel > Employees > Custom Lists.

-
Click New Custom List
-
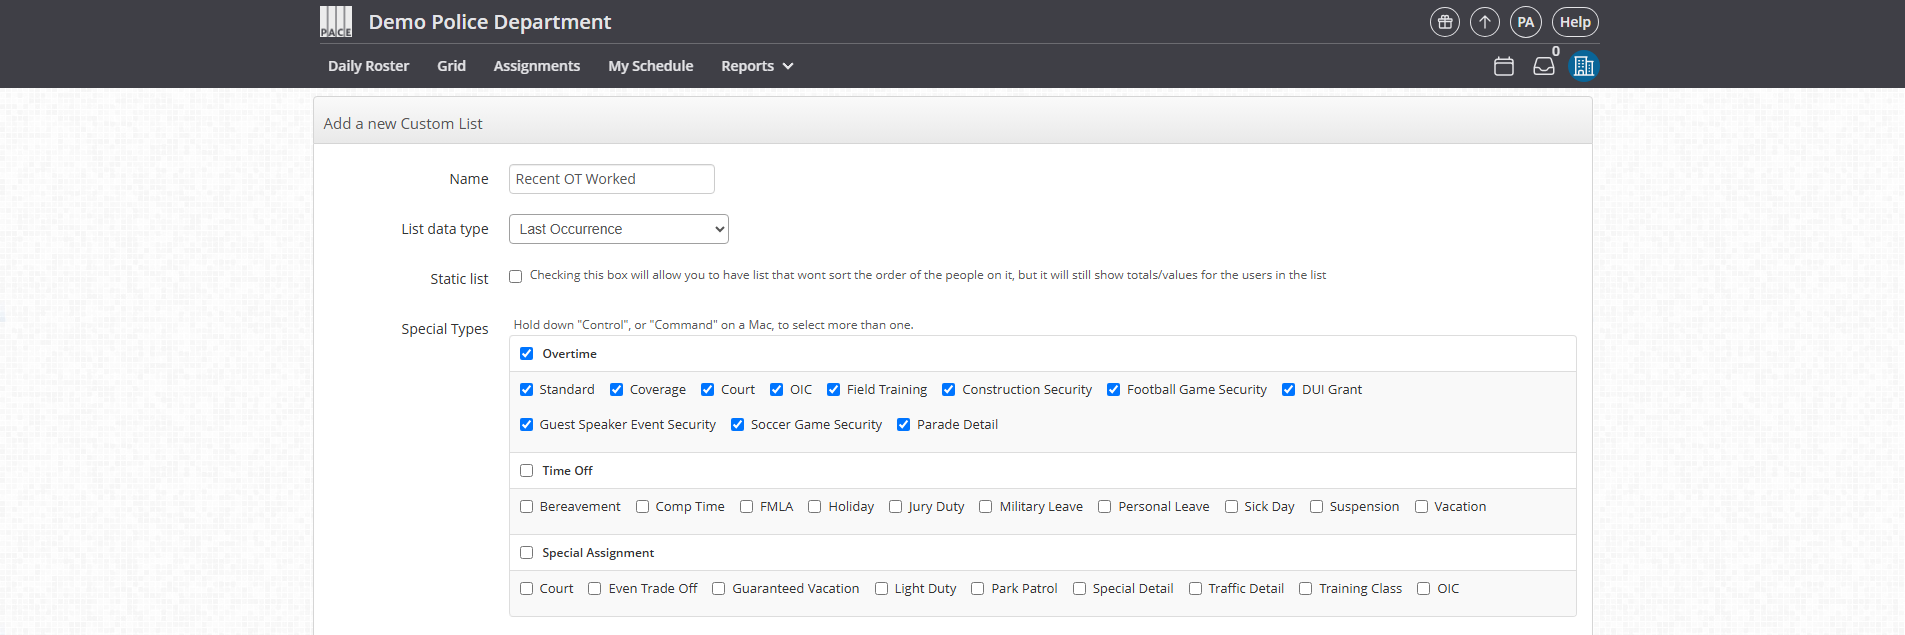
Enter a Name for the list.
-
Choose a List Data Type:
-
Totals → Adds up all hours within a selected time period (e.g., 24 hours of Court OT in the past month).
-
Last Occurrence → Displays the most recent shift matching your selection (e.g., most recent OT worked, even if only 30 minutes).
-
Occurrence Count → Counts all matching shifts within a selected time period (e.g., 3 Court OT shifts this month).
-
-
Save the list.
Access Your Custom Lists
-
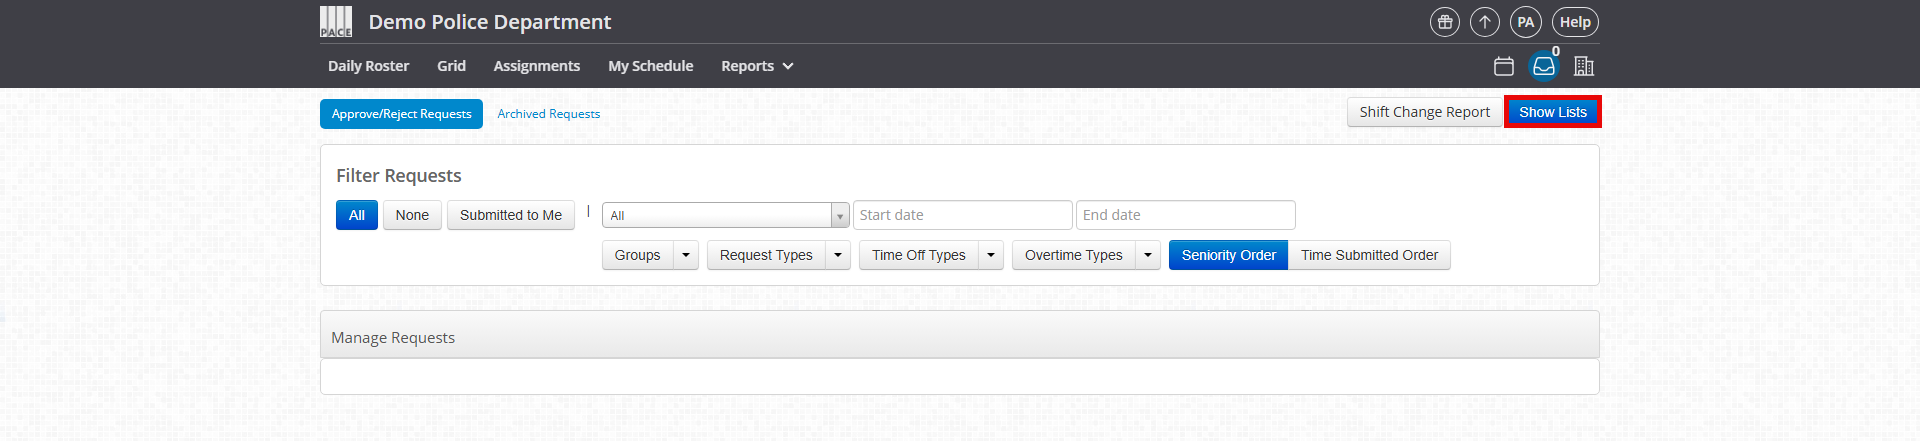
Go to the Pending Requests page.
-
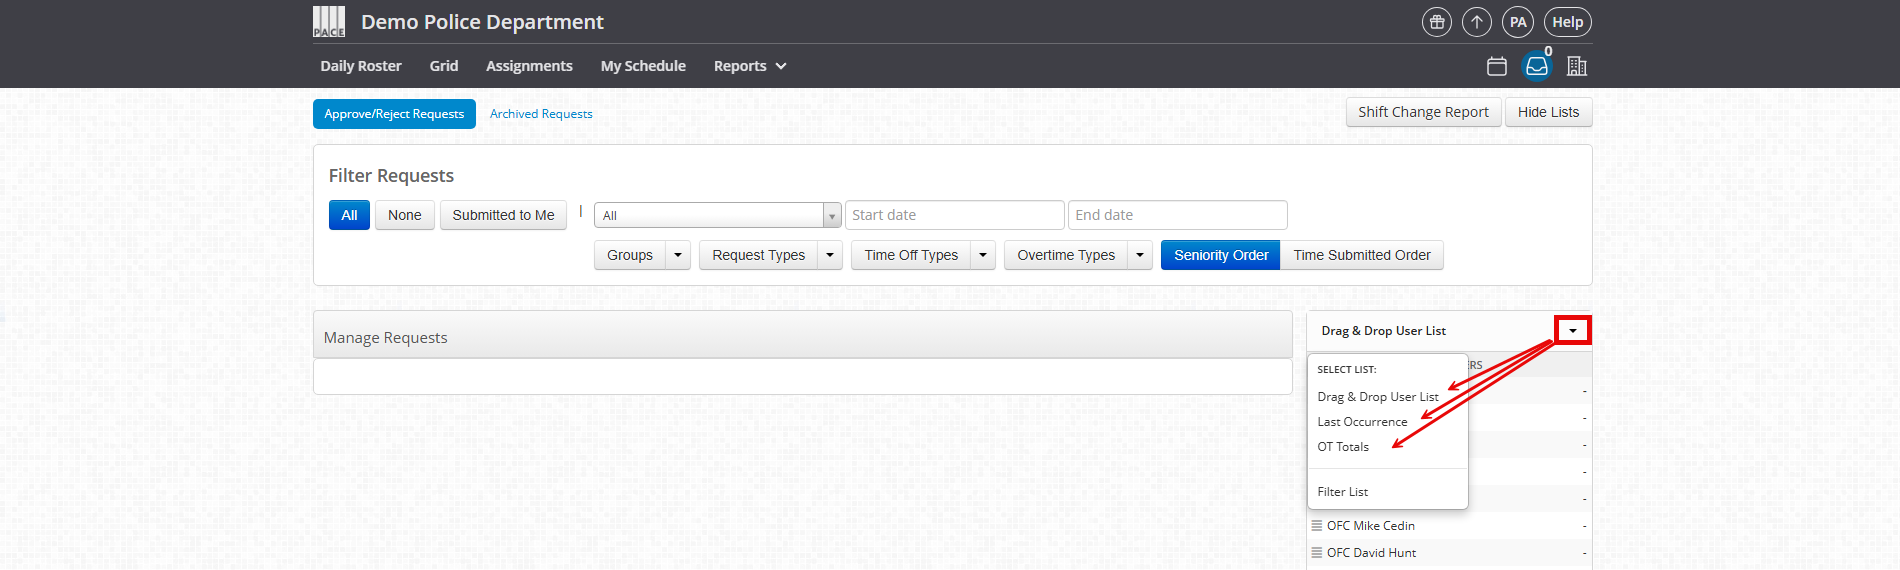
Click the blue Show Lists button on the right side of the page.
-
Use the dropdown near the list’s name to:
-
Switch between lists.
-
Apply filters or adjust settings using Filter List.
-
-
When finished, click the gray Hide Lists button (top right of page) to close the panel.
Note: Lists refresh automatically when you reload the page.
Helpful Tips / Related Settings
-
Custom Lists are fully configurable — you choose the type, items, and date ranges to evaluate.
-
Default settings are not permanent; you can adjust list filters on-the-fly from the Pending Requests page.
-
Example use cases:
-
Compare overtime hours when multiple employees request the same shift.
-
See the last time someone took leave before approving a new request.
-
Count how many times an employee has worked a detail in a given period.
-
-
Use shorter date ranges (e.g., one week) for immediate scheduling decisions, or longer ranges (e.g., one year) for trend analysis.

