
 560
560
To properly invite new users to your Pace Scheduler site, use the following steps (NOTE - if your department uses Single Sign On (SSO), the steps will be different):
1. Finding the "Users" page
Navigate to the Admin panel, choose the "Employees" section, and select "Users":

2. Inviting Users
To invite a new user, simply click the "Invite" button:

That will receive an email invitation, which will prompt them to click a link to create their password - at that point, they'll be logged into the site. A sample email is shown below:

Note: Users must have a valid email address in the system in order to be invited - if an email address is not present, the "Invite" button will be greyed-out:

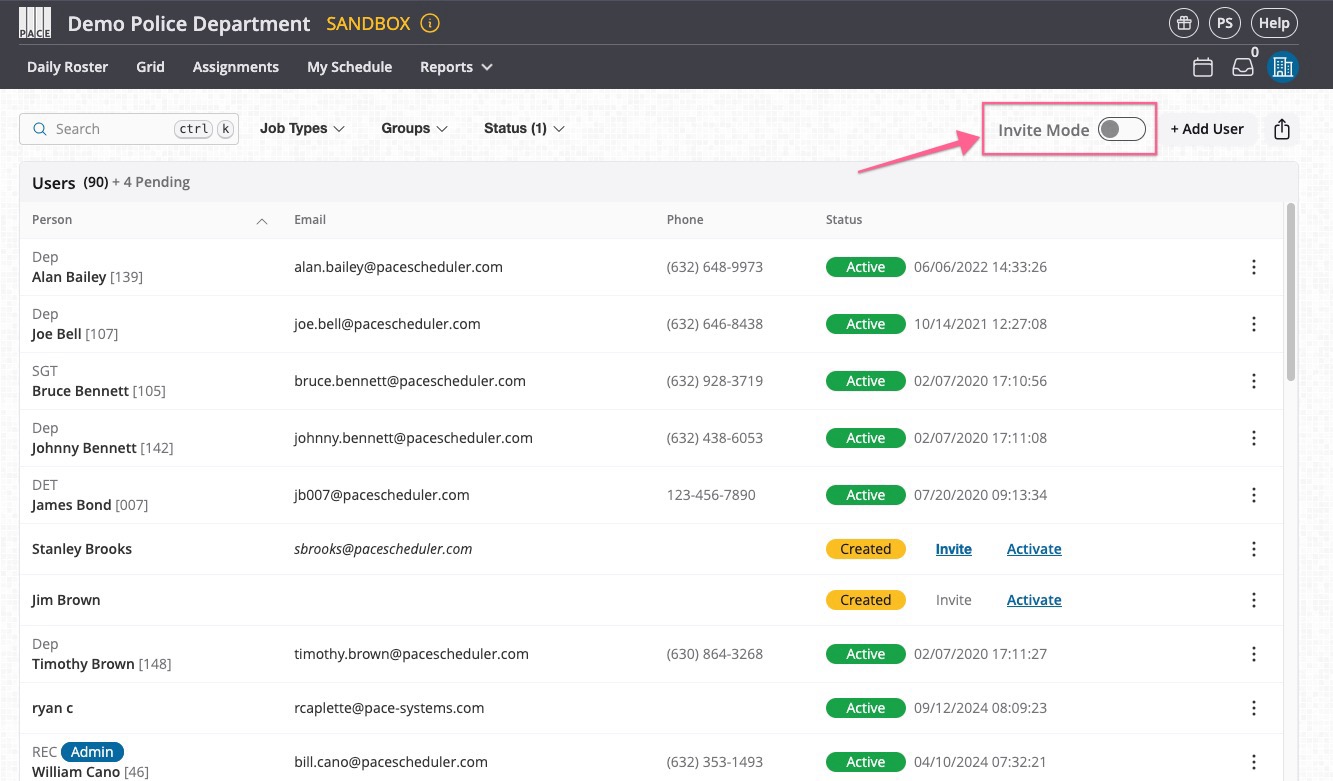
4. Invite Mode (Bulk Invites)
If you have more than one user to invite, you can toggle on "Invite Mode" to bulk invite multiple users. When there is more than one user who has not yet been invited to your site, you will see the toggle in the top-right corner of the page:
When you toggle "Invite Mode", you will see a list of users who can be invited to the site. You can use the checkboxes on the left-hand side of the page to select any or all users to invite - then, click "Invite Selected" at the top of the page to bulk invite them:

Once you invite users, they will no longer appear on the "Invite Mode" list. You can hover over the "Invited" bubble to see when they were sent their invitation email:

You can use the Filters at the top of the page to help specify who you want to invite - for example, you could use the "Job Types" filter to show only Patrol Sergeants, or the "Groups" filter to show your Investigations and Records Groups:

There is also a search box to help locate individual users.
5. Re-sending Invitations
Once you have invited a user, you can resend the invitation (if needed) by clicking on "Resend":


